From the dashboard, navigate to your dashboard, go to the menu labeled “Leaves.” Clicking on this menu allows you to access sub-menus such as Calendar, Approval, Report, and configuration for managing the attendance tracking system.

1. Calendar
Navigate to the “Absence Calendar” sub-menu to either view and request leaves or add away time for the entire team or specific employees.
Additionally, the admin has the capability to review the leave history of employees on a monthly or weekly basis.

How Can a User Apply for Leave in the Calendar?
Click on the “Leaves” from the left panel of the user dashboard.

Select calendar from the dropdown list
Click on the Add Away Time
A pop up arrives and you are asked to enter the following details:

2. Approval
Here, you can view the pending requests and the leave history of the users.
Pending Request
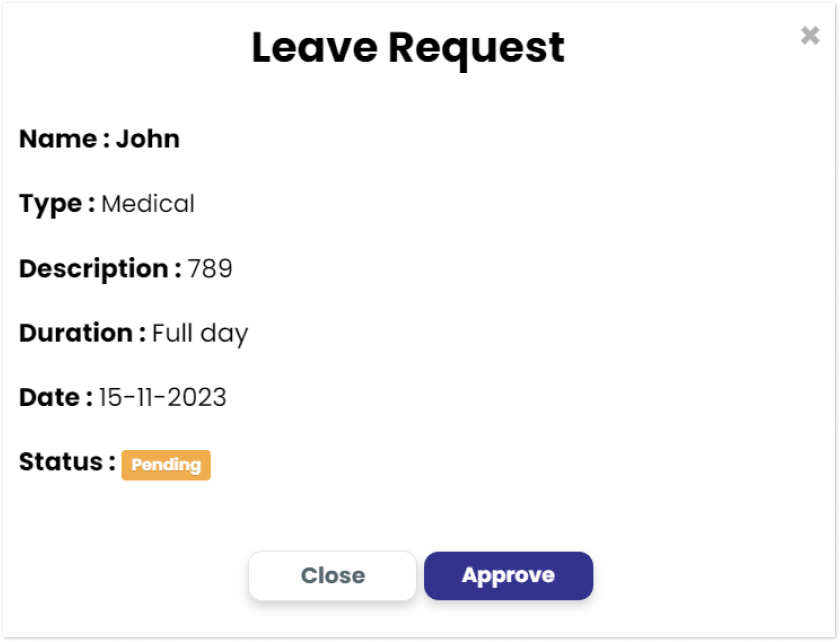
Within pending requests, you can see the user’s name, request type, date, and the option to either approve or reject the requests.

Approve/Reject requested leaves

Leave History
The leave history provides details of all leaves taken by users. You can customize the view by selecting specific teams.

3. Report
Gain access to Monthly/Yearly leave reports for all Statily users. This report presents Usernames, Total Working Days, Attended Days, Total Leaves, Approved Leaves (paid/unpaid), Other Leaves, and detailed Leave information for each user. You can also export these reports in excel.

4. Configuration
The admin can set the maximum number of leaves permitted for an individual, a team, or all employees.
Additionally, you get insights into ‘User leaves’ and ‘company leaves’ separately for detailed analysis.
User Leaves
User leaves include the details like; Username, Total leaves, Leaves Taken, Available Leaves and Action.

Company Leaves
This section displays the leave details of the company. Here, you can also add company leaves and remove existing leaves by selecting the respective buttons.