To make use of app & Url features, First set the app productivity, then categorize apps based on their niche, and the analyze the tracked data.
A. How to set App Productivity?
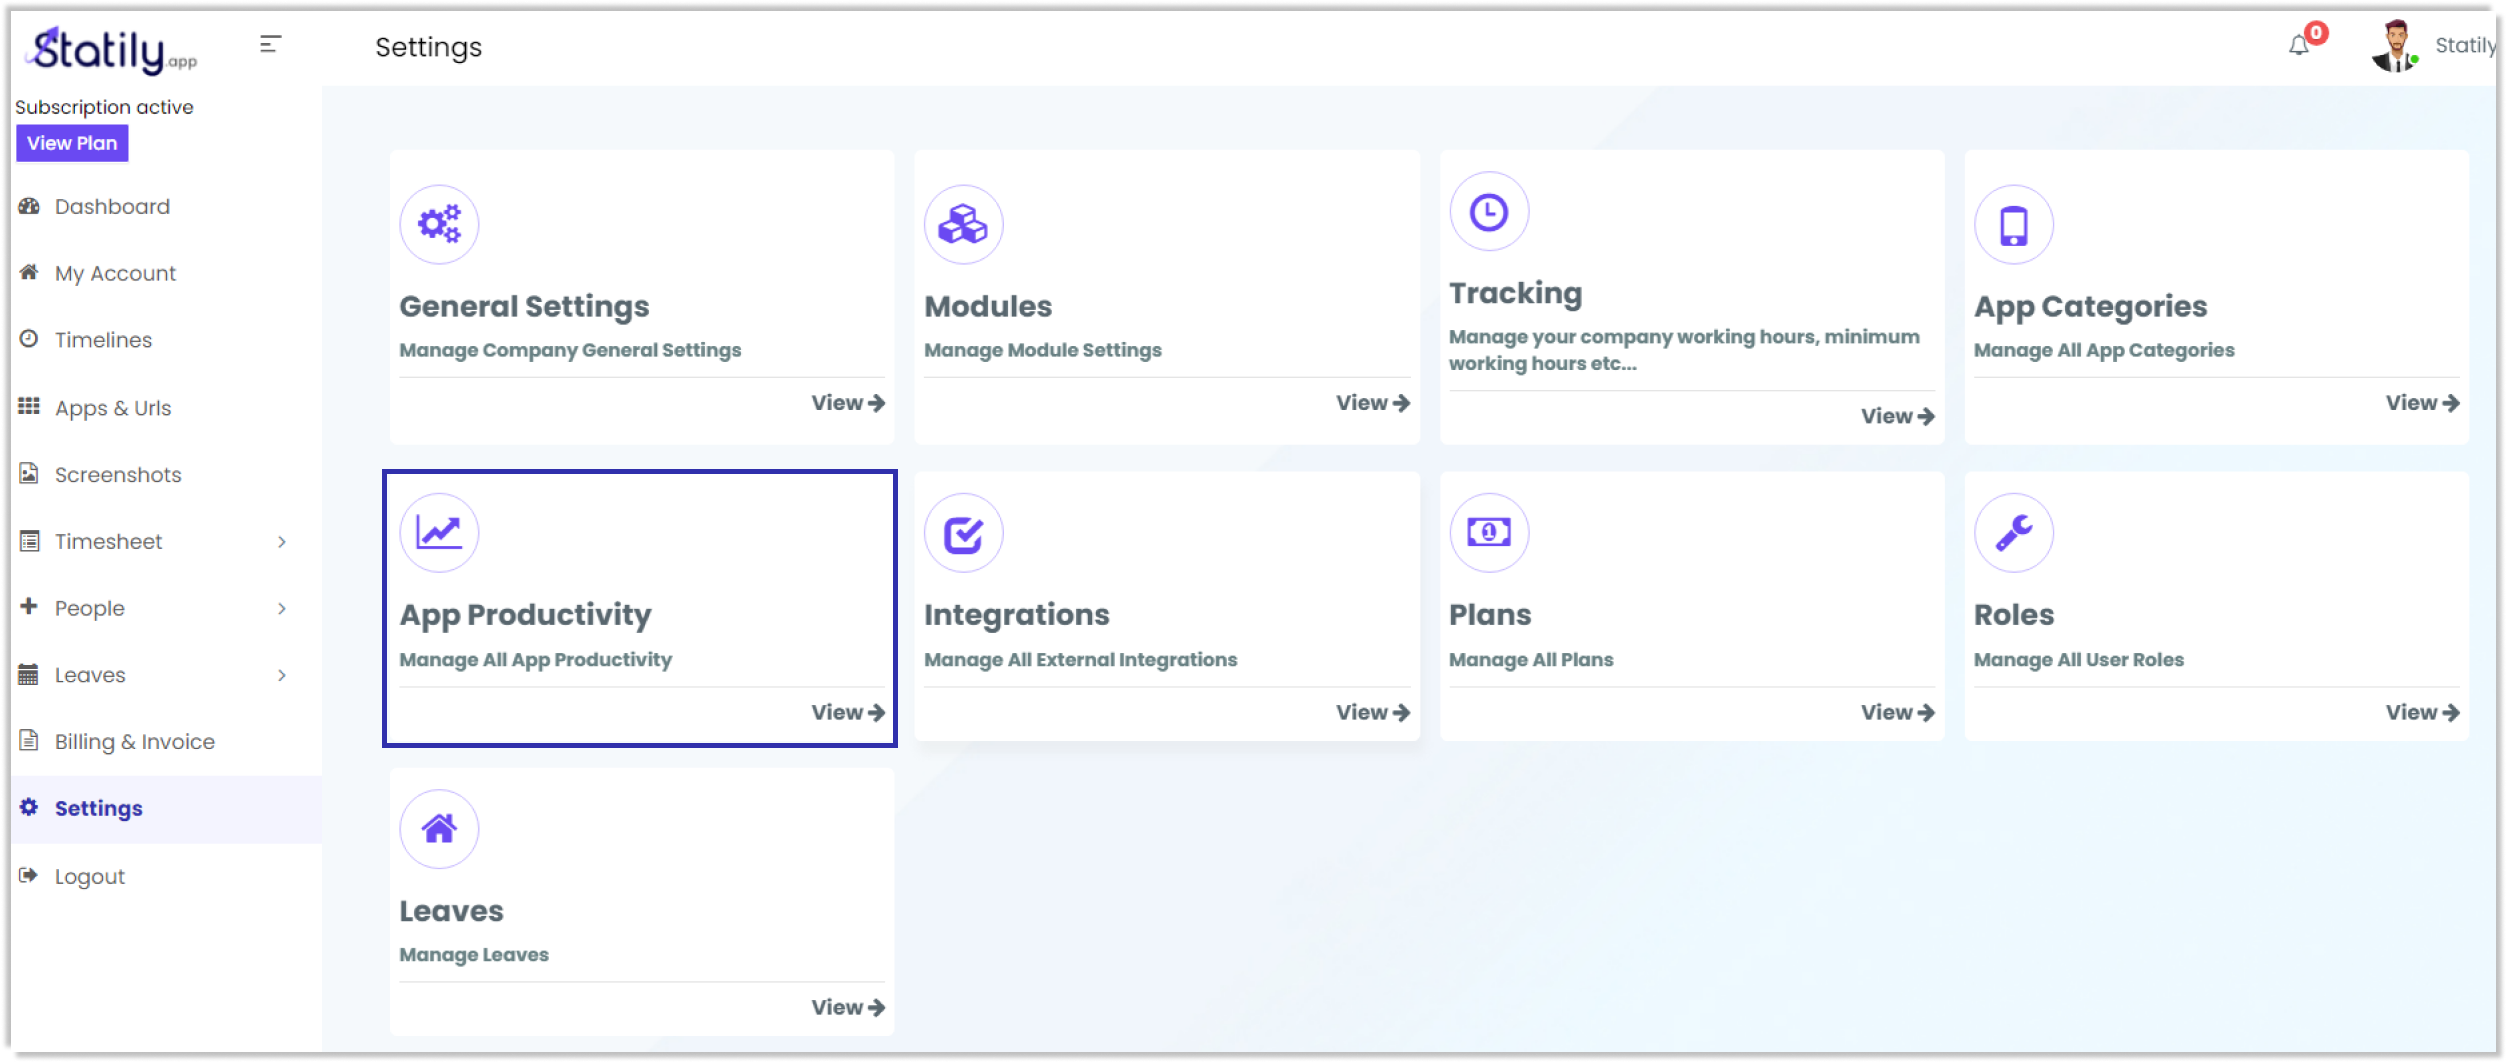
First you have to set the app productivity. For that navigate to ‘‘Settings’‘ from the Dashboard. Then go to ‘App Productivity’
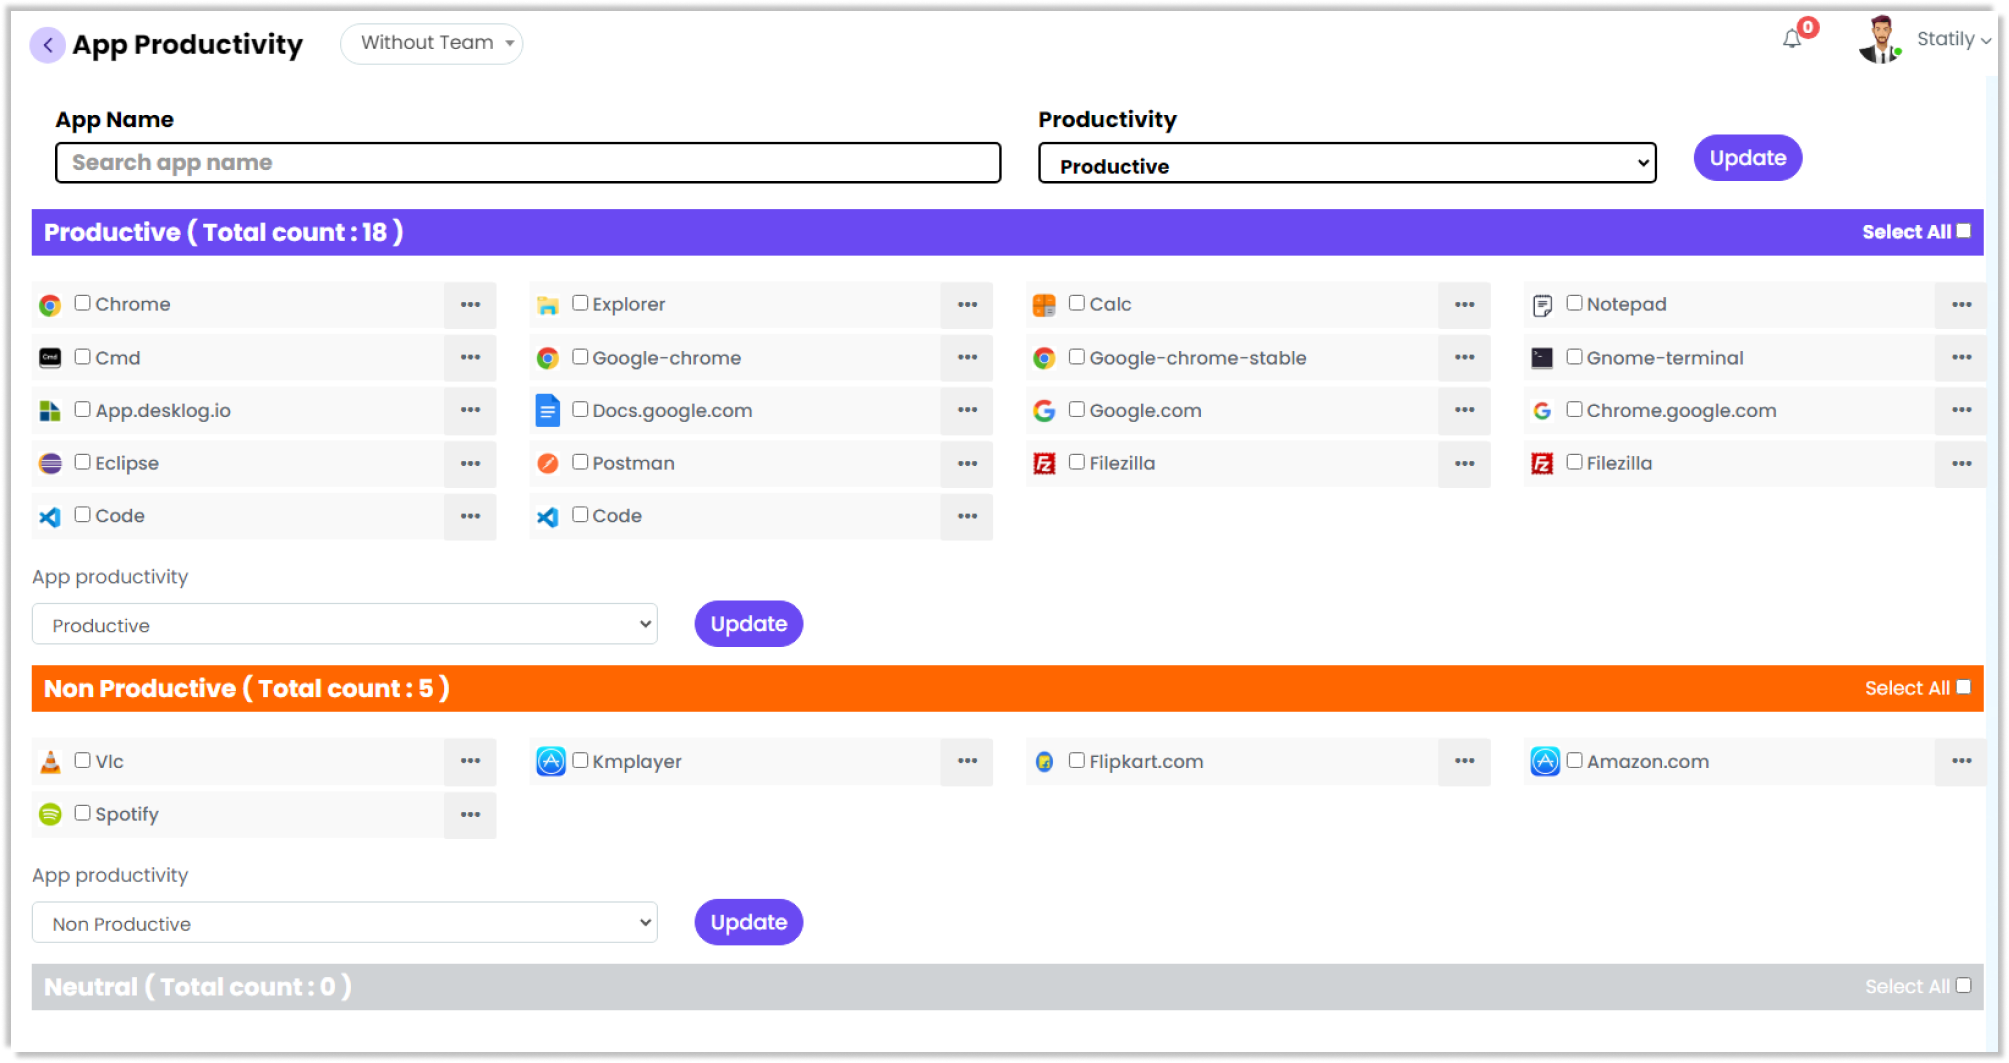
This will take you to a page with options to categorize apps into productive, non productive, and neutral.
From here you can set certain apps under any above mentioned category. Enter app name, the productive type and click on update.
B. How to categorize apps?
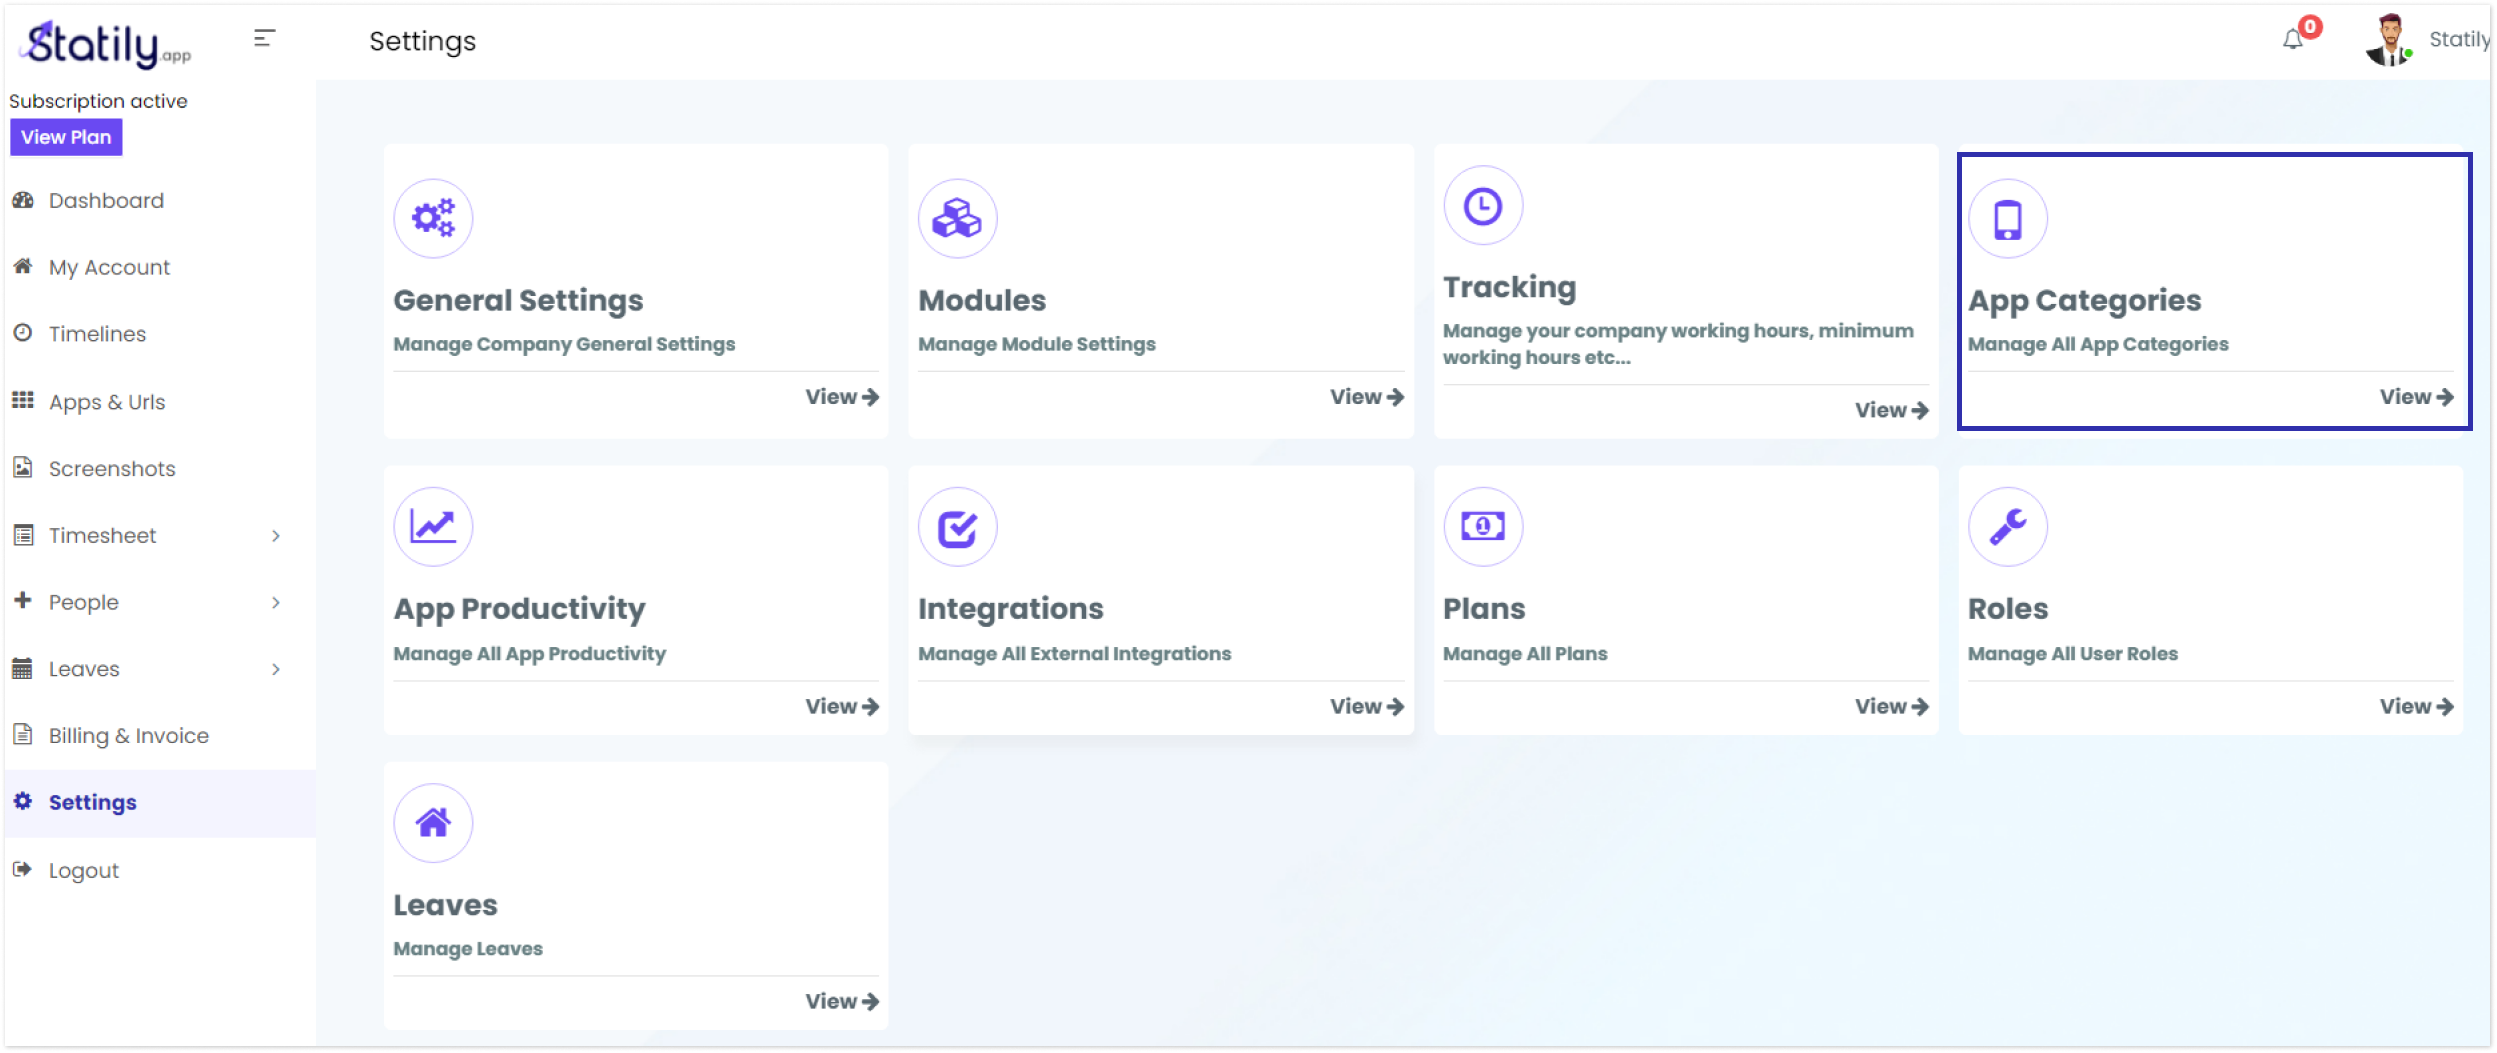
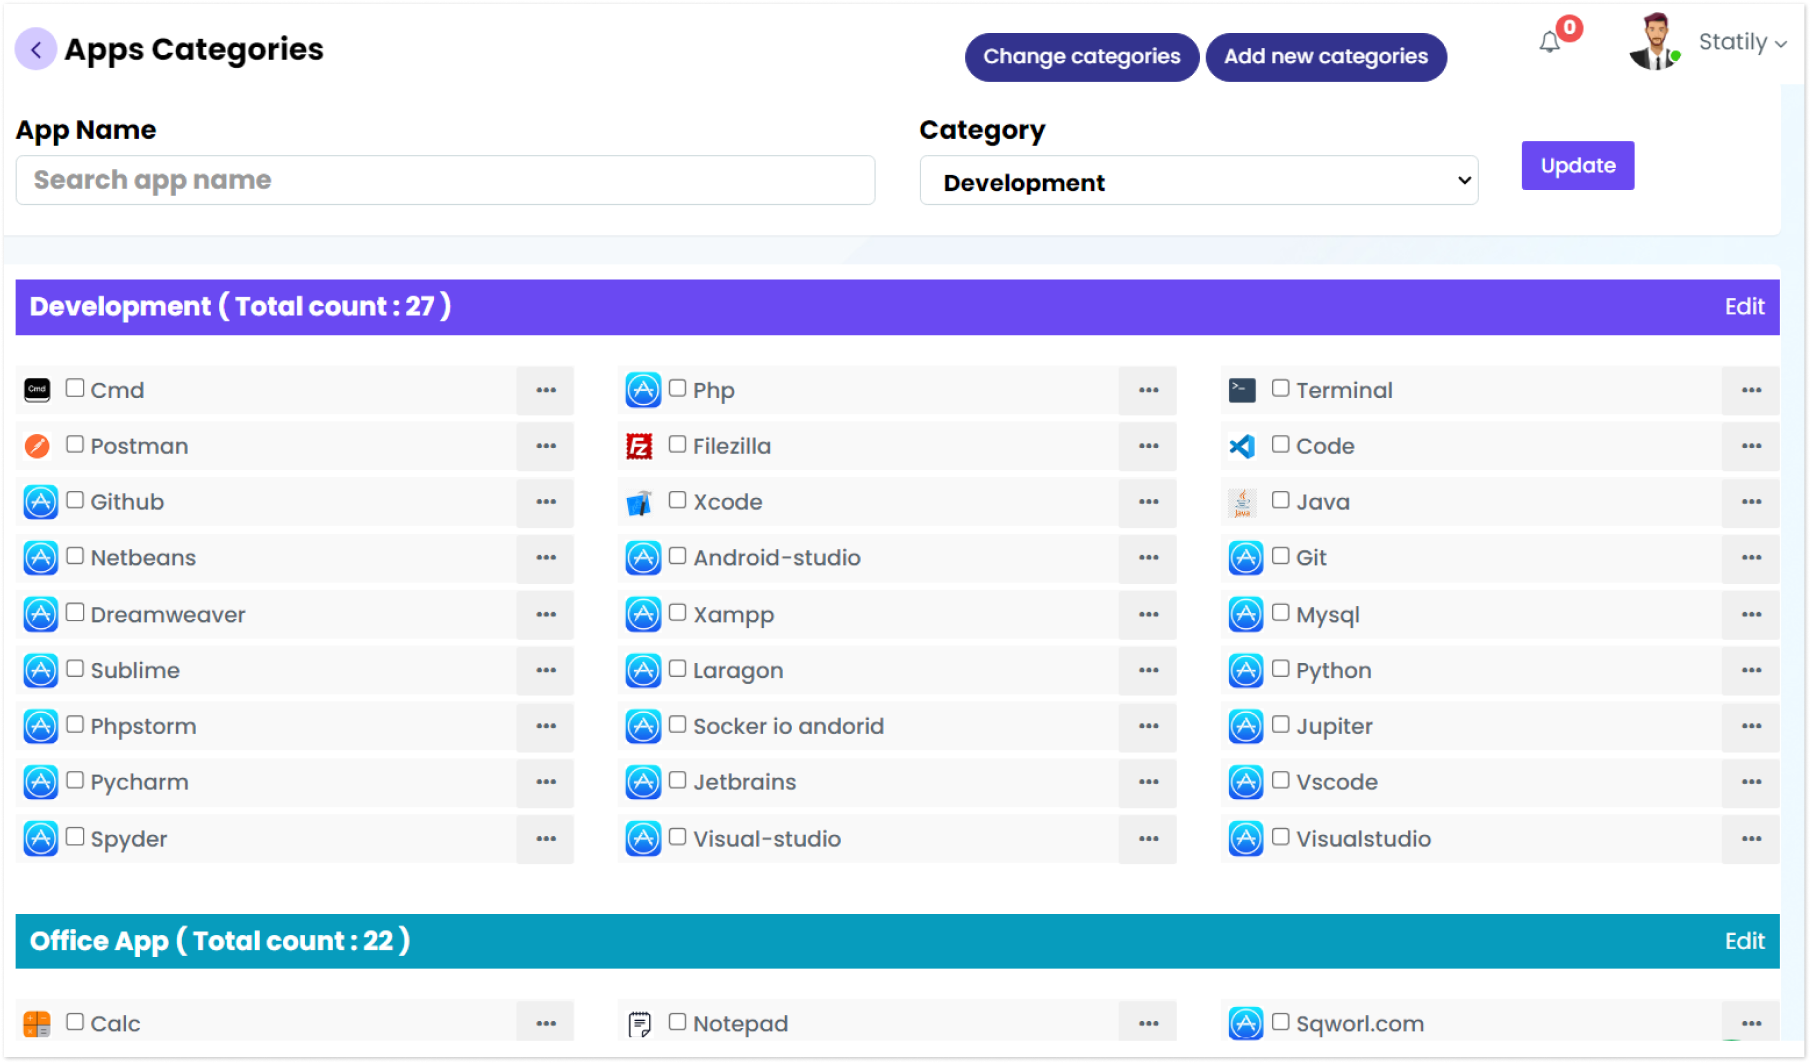
Now, you can also categorize apps based on their niche. For that, From the Settings, navigate to ‘app categories’.
Enter the ‘app name’, select the ‘category’, and click on ‘update’.

You also have options to change and add categories.
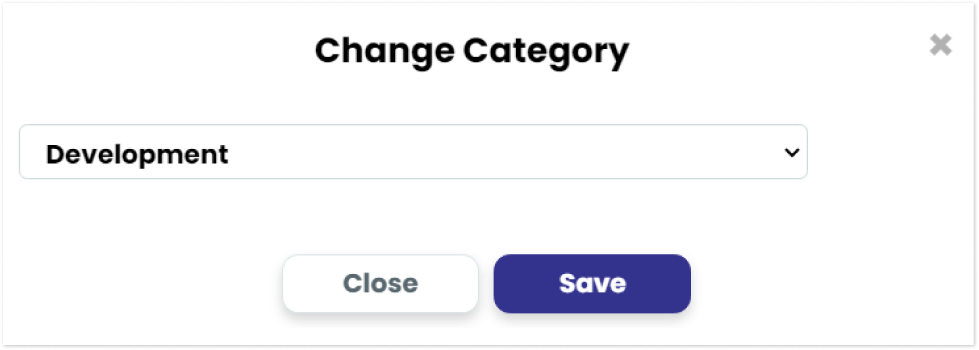
To change categories, click on the ‘Change category’ button. A pop up appears, select the category from the drop down. Click on ‘save’.
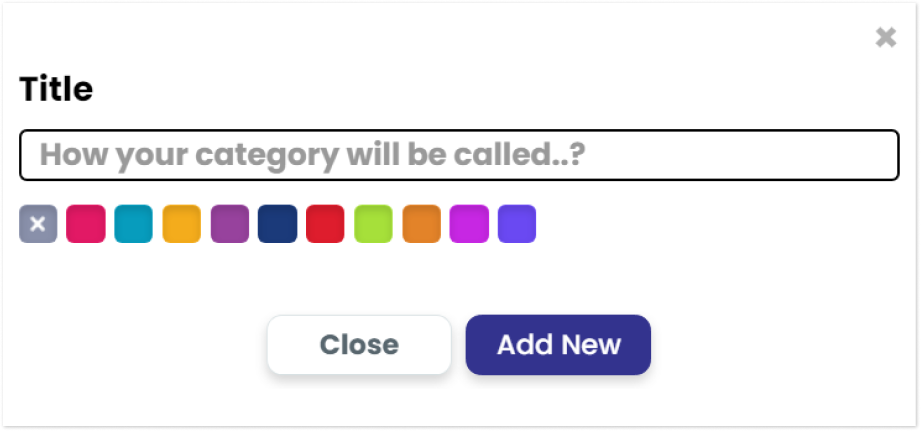
To add categories, select ‘add new category’ option. Give a category title, and select a preferred color theme. The, click on ‘add new’ button in order to add a category

C. How to view the tracked app & URL?
To view the reports of tracked app & urls, go to the ‘App & URLs’ menu from the admin dashboard.
The report contains detailed reports of users’ activity percentage, productivity rate, productivity graph, app category,
Get customized reports by selecting the team, users and the preferred date.

D. How to Add a New App Category?
This section displays the details of the applications used by the employees.
In the top right corner, Select the “Add New Category” button, enabling the addition of new app categories to the existing list.

Input the Title, choose the desired color theme, and then click “Add New.”