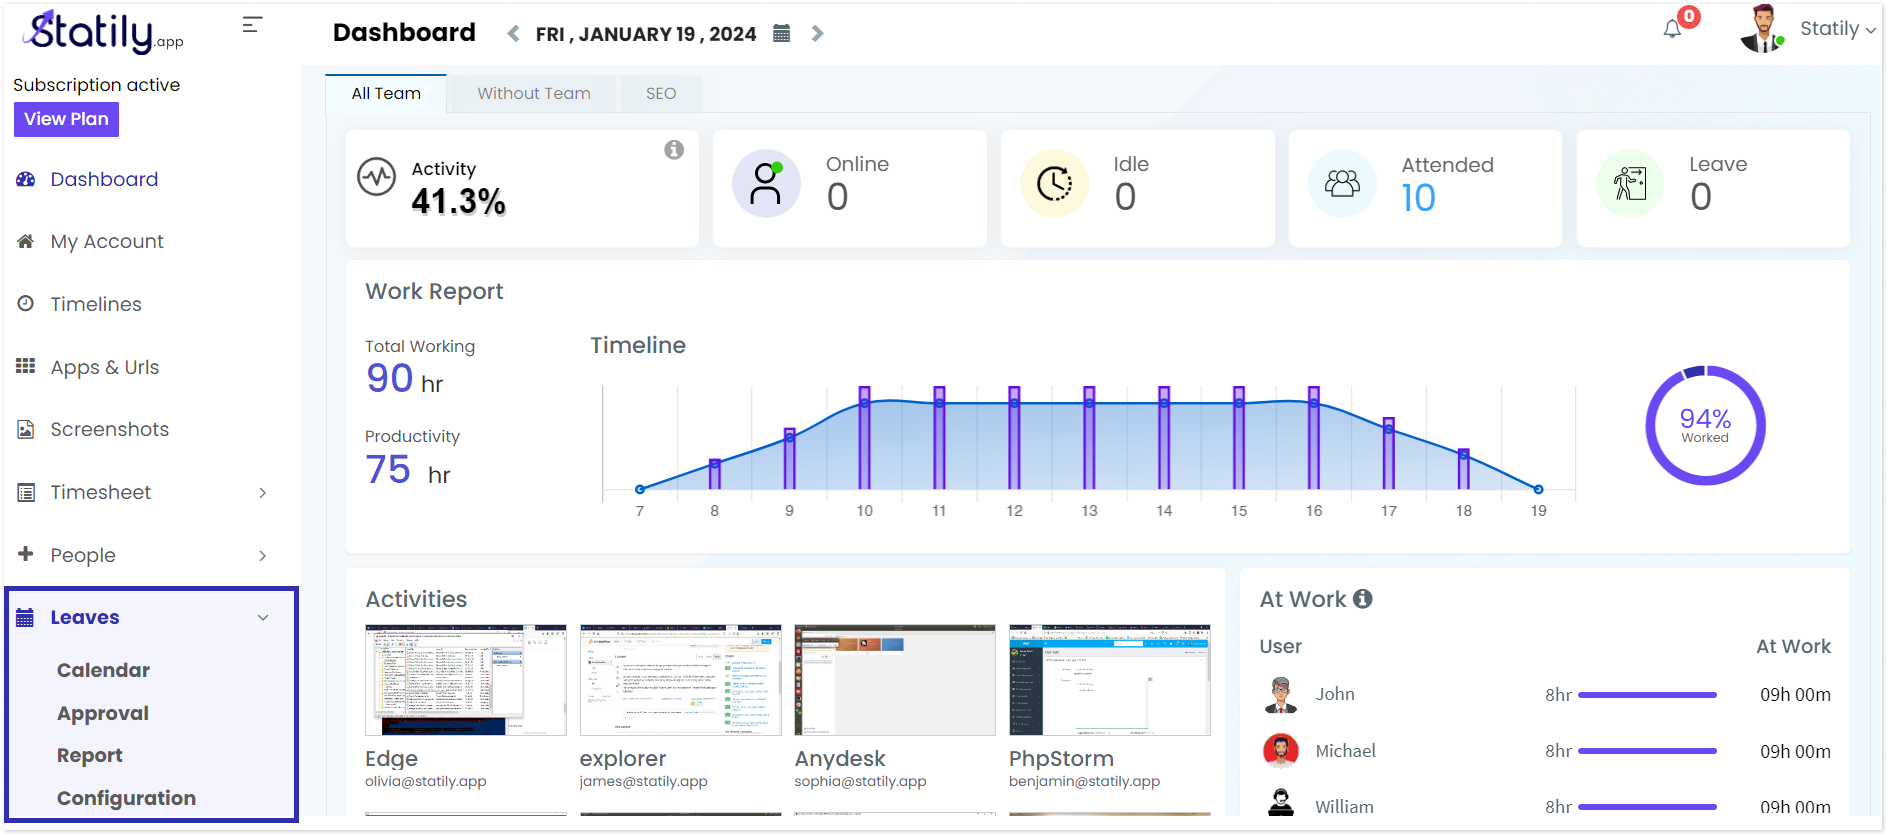
To configure leaves, head on to the ‘Leaves’ section from the dashboard. You will see 4 sub menus. Calendar, Approval, Report, Configuration.
Click on ‘Configuration’. You’ll arrive at the page with complete details of leaves, with 2 tabs: ‘User Leaves and Company Leaves’.
User Leaves
You’ll see the User Names, Total Leaves, Leaves Taken, Available Leaves, and Action.
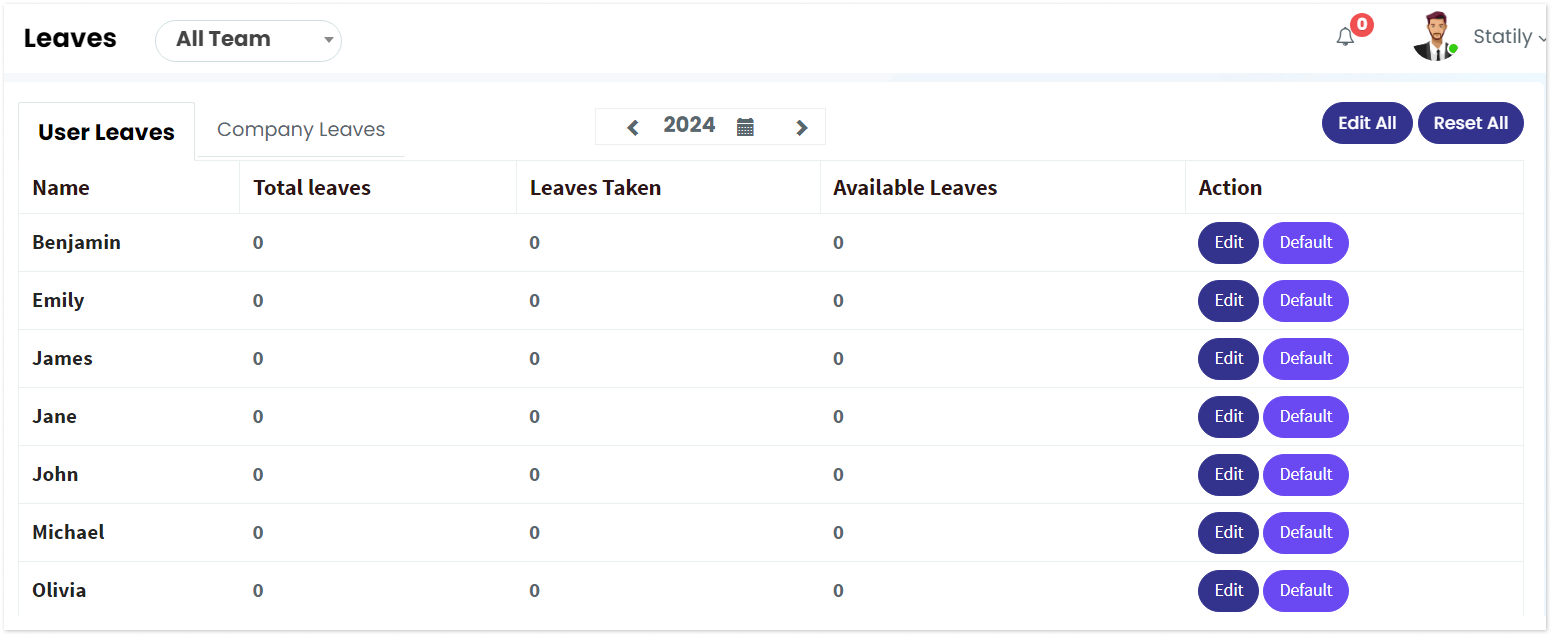
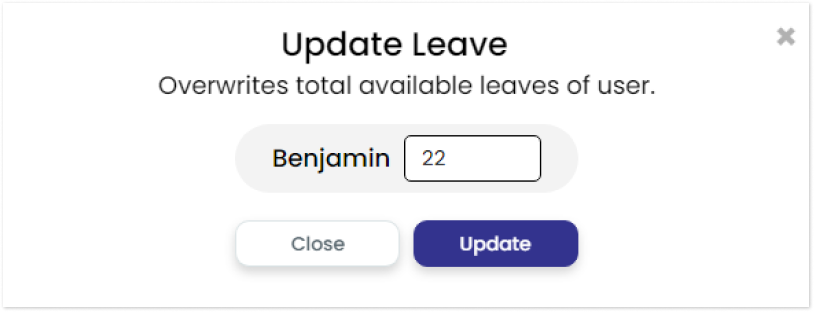
You can configure leaves for each user by clicking the ‘Edit’ button. Enter the number of leaves for that particular user, and click on ‘update’.
Further, you can choose the teams, specific year, and you also have an option to edit all at a time, and reset all the leaves.
Company Leaves
In company leaves you’ll see details like: Date, Description, View Excluded Users, and Action. Under the action, you can delta that particular leave.

Now, you have the option to delete all the available company leaves, and also to add company leaves.
Click on ‘Add company leaves’, enter the date, and description. If you want to exclude particular users, tick the ‘excluded users’ column, and select the team and members to be excluded.
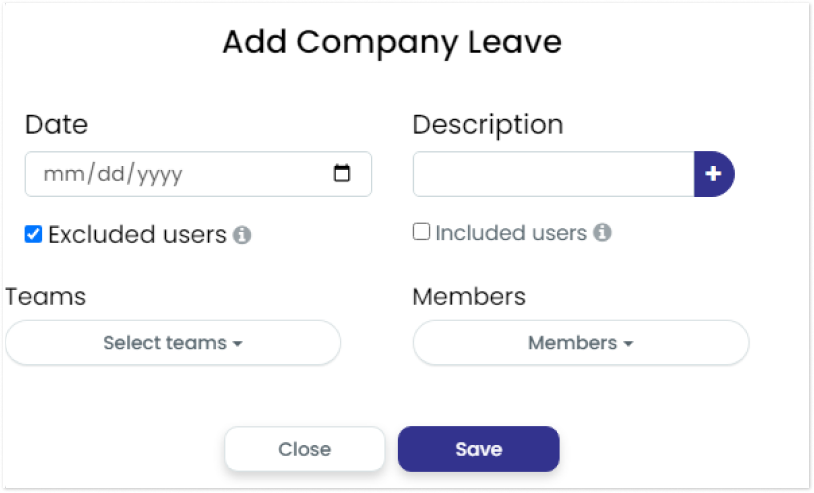
And if you want to apply, the company leaves only for particular users, check the ‘included user’ option, select the team, and members.

After making the necessary changes, click on the save button.
You can add multiple leaves at the same time by clicking the plus (+) sign corresponding to the description button.